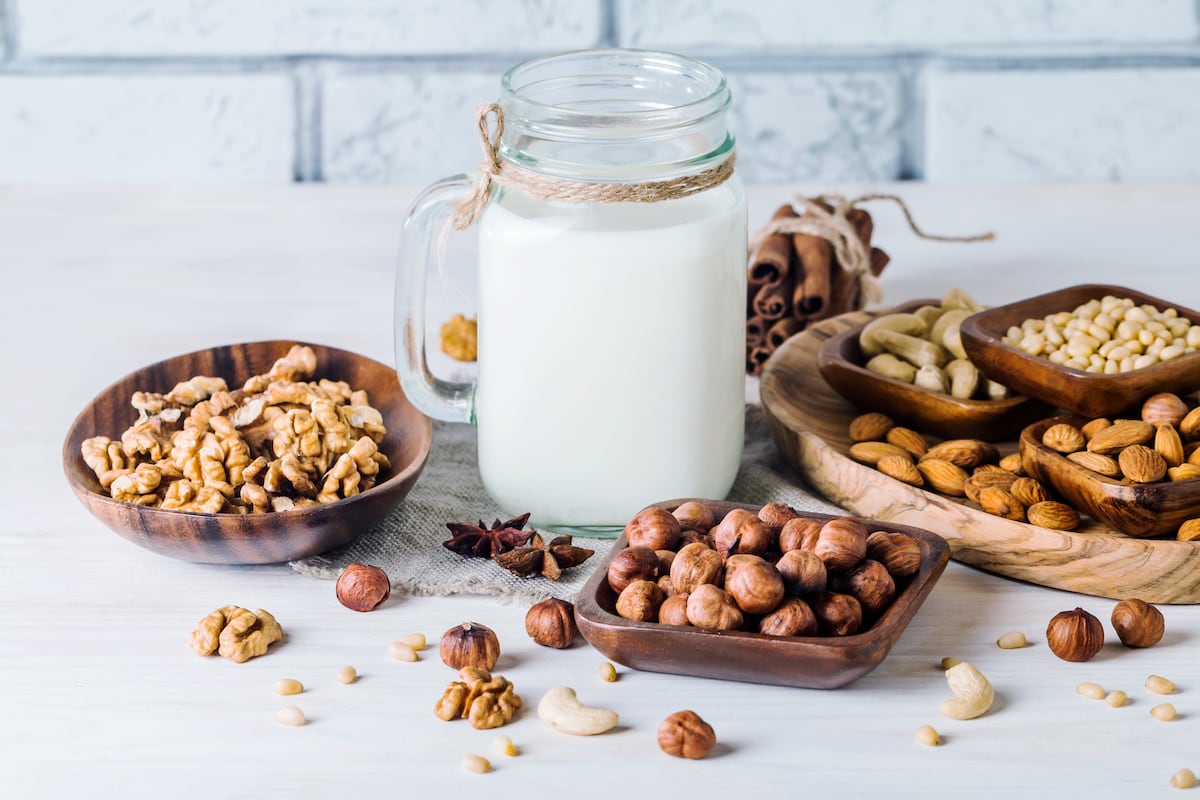
If you can't or don't want to drink cow's milk, you used to be able to choose soy milk. These days, supermarkets offer a much wider selection of plant-based lactose-free milk alternatives. Drinks can also be made from nuts, such as almonds and hazelnuts.
If you buy a nut milk at the supermarket, don't expect to get a huge amount of nuts. Almond and hazelnut milk are made from water to which nut extract is added. A carton of almond milk contains only about two percent almonds. A quick glance at the ingredients list reveals that a healthy nut drink from the supermarket isn't nearly as pure as the packaging often claims. Emulsifiers, stabilizers, sugars, and flavorings—all additives you'll find in a nut milk from the supermarket.
If you want something truly natural, you'll have to make the nut milk yourself. And luckily, you can do it at home if you have a good blender.
Make your own fresh nut milk
The full recipe can be found at the bottom of this article, but in a nutshell, here's how to make nut milk at home:
- Buy unroasted (raw) nuts
- Let the nuts soak for one or two nights
- Drain and rinse the soaked nuts
- Blend the nuts together with fresh water
- Strain the homemade nut milk
- Sweeten if necessary
- Cooling
The steps are the same for every type of nut. Here are some tips for choosing the nuts for your homemade nut milk.
Buy unroasted nuts
Unroasted nuts, sometimes called raw nuts, not only stay fresh much longer, but they also absorb much more water and are therefore easier to blend. Unroasted nuts also give the nut milk a much better flavor.
Provide fresh nuts of the best quality
Since homemade nut milk only consists of two ingredients, nuts and water, choose the best quality nut you can afford.
Nuts without skins
Buy skinless nuts or remove the skins yourself. You can easily remove the skins by soaking the nuts and then wiping them dry between a clean tea towel. Without the skins, the nut milk will have a finer texture and a better flavor.
Soak the nuts overnight
Soaking the nuts softens them considerably and creates a creamy flavor and silky texture when blended. Soaking also removes the phytic acid and enzyme inhibitors, making the nut milk much more nutritious and easier to digest. The soaking time depends partly on the size of the nuts. For a peanut, about six hours is sufficient, while a larger cashew nut will need twice that amount of time. You can never soak nuts for too long. Soaking them for 48 hours will result in an even creamier and smoother result.
Blending and sieving the nut milk
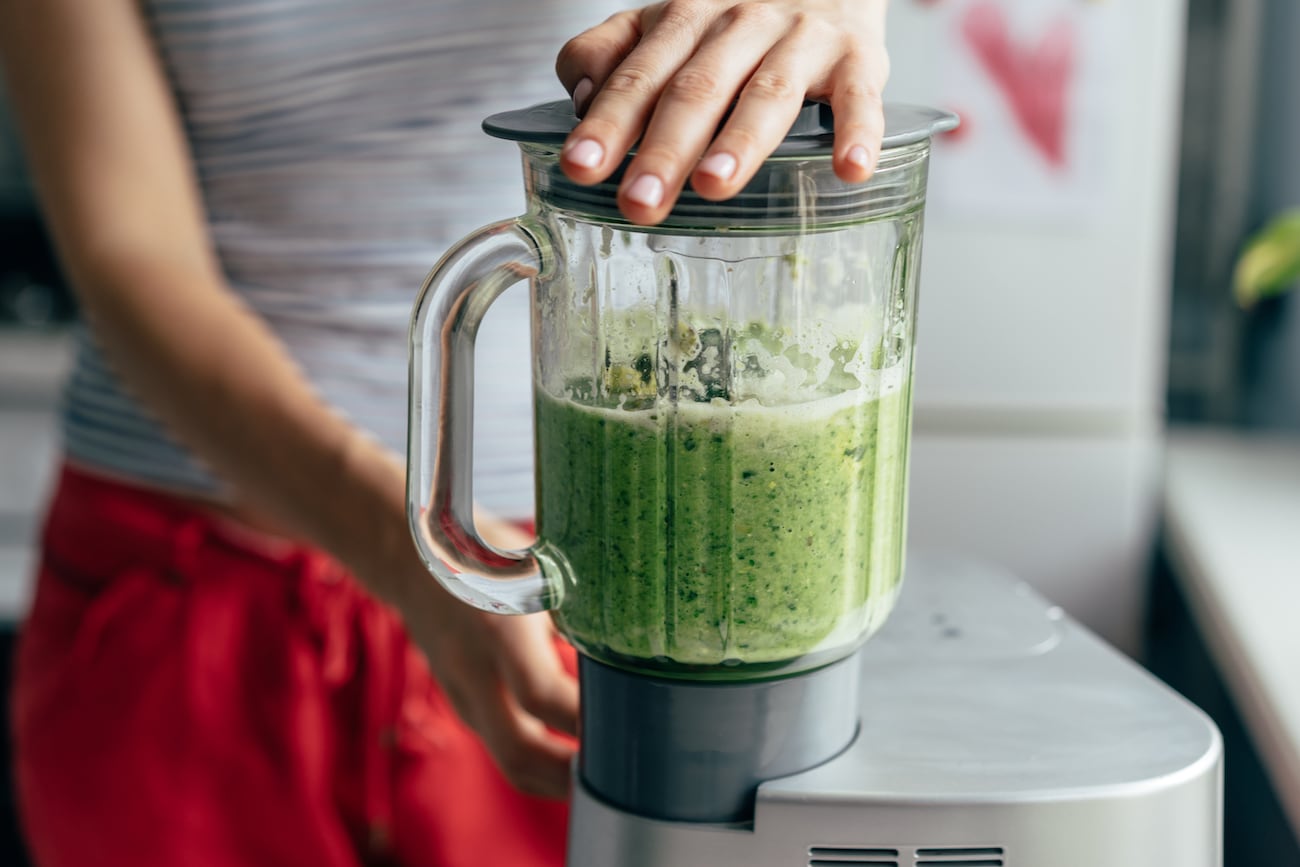
After soaking the nuts, drain the soaking water and rinse them thoroughly under cold running water. Place the nuts in a blender and add fresh water. A blender is the best appliance for making nut milk, as it produces a smooth and sweet final product.
[product=bar-blender-digital]
With three speed options and three timer settings, you can adjust the blender to the right speed and time for your recipes.
[/product]
After blending, it's best to strain the mixture. The nut milk tastes better after straining. If you have a high-speed blender, straining isn't strictly necessary, but it's recommended. Unstrained milk will separate easily, and you'll need to stir it before each serving. So always strain it.
What to do with the pulp left over after sieving?
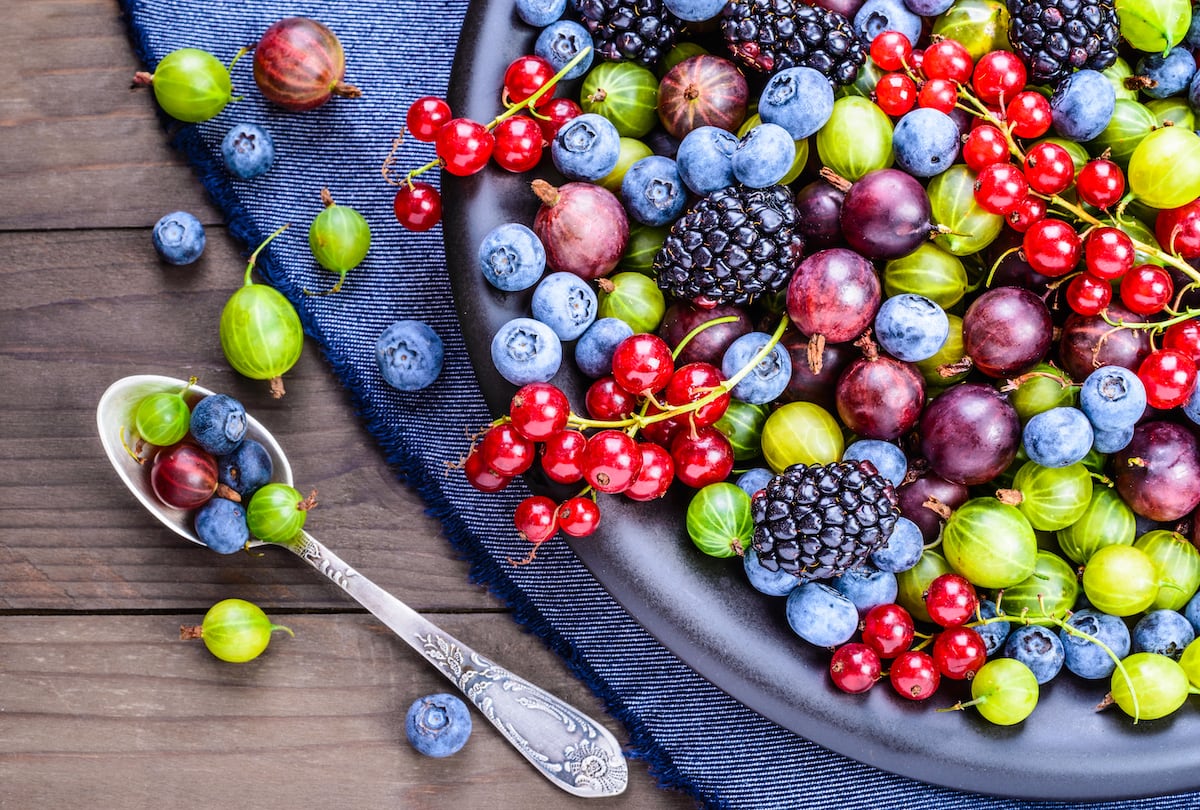
When you make your own nut milk, you'll create a byproduct: nut pulp. Don't throw it away, because the pulp is delicious and can be used in countless other dishes. You can freeze the pulp in a bag and add it to your smoothies later. You can use it in your recipes when baking bread or add it to oatmeal. Or you can make the most crunchy granola with it.
You can also spread the pulp on a baking sheet lined with parchment paper and bake it in the oven at a low temperature for a few hours until it's completely dry. You can store the dried nut pulp in the freezer for a few months and use it in your homemade baked goods.
Using your homemade nut milk
You can use your homemade nut milk for anything you'd normally use supermarket nut milk or cow's milk for. You can use it in your cereal, coffee, pancake batter , milkshakes, and much more.
Of course, you can also simply drink the milk plain. Homemade nut milk has a much better flavor and quality than bottled nut milk and is at its best when served ice cold.
Recipe for homemade nut milk
Ingredients
- 1 part nuts
- 2 parts water, plus water for soaking
- Optional: Sweeteners, such as honey, sugar, agave syrup or a date.
What do you need?
- A bowl , container or sieve to soak the nuts in
- A sieve
- A clean tea towel or cheesecloth
- Measuring cup
- A blender, for example a high-speed blender.
Step-by-step plan for making nut milk
| Soak the nuts | Place the nuts in a large bowl or container and add enough water to cover the nuts by 2 to 3 cm, or about the length of a finger's knuckle. Cover the bowl or container with a cloth and let it soak for one or two nights. This can be done at room temperature. The nuts will absorb the water and soften slightly. The longer you soak the nuts, the creamier your milk will ultimately be. |
| Drain and rinse | Drain the soaking water and rinse the nuts well with cold running water. |
| In the blender | Place one part nuts together with two equal parts water in a blender. |
| Blender on high speed | First, pulse a few times to chop the nuts into smaller pieces, then blend on high speed for about three minutes. The nuts should be very finely chopped, and the water should be white and opaque. |
| Strain the nut milk | Place a sieve lined with cheesecloth or a clean tea towel over a measuring cup, bowl, or container and pour the mixture into the sieve. You can wring out the pulp on the cloth later to squeeze out the last bit of nut milk. |
| Add a sweetener | Taste the milk. If you prefer your homemade nut milk a little sweeter, add a sweetener of your choice, such as sugar, honey, or agave syrup. |
| Store in the refrigerator | Store the nut milk in a sealed container in the refrigerator. It will keep for up to four days. You can use any leftover nut pulp for other things. |
Leave a comment
This site is protected by hCaptcha and the hCaptcha Privacy Policy and Terms of Service apply.