Gin. Originally created in the Netherlands as jenever, it's now incredibly popular. Pairing it with tonic is a staple on patios and in clubs. Many establishments even have a special "Gin & Tonic menu." In this article, I'll tell you how I made my own gin using a sous vide infusion.

What is gin?
Gin is an alcoholic beverage with a juniper berry base. Nothing more, nothing less. There are several terms used to describe gin. Well-known brands include London Dry Gin, Distilled Gin, and Compound Gin. Here are the differences:
London Dry Gin
Does a London Dry gin have to come from London? No. London Dry is a designation that indicates a single distillation, in which all ingredients are distilled together. The only ingredient that may be added after distillation is water.
Examples: Bombay Sapphire, Beefeater, Tanqueray
Distilled Gin
This process is essentially the same as London Dry Gin, except that with Distilled Gin, flavours are often added (infused) afterwards or additional ingredients are distilled along with it.
Examples: Hendricks, Gin Mare
Compound Gin
We're going to make this ourselves! With Compound Gin, the ingredients are only added after distillation. The base of this gin is a neutral spirit: vodka. The advantage is that you can make this gin yourself without having to distill.

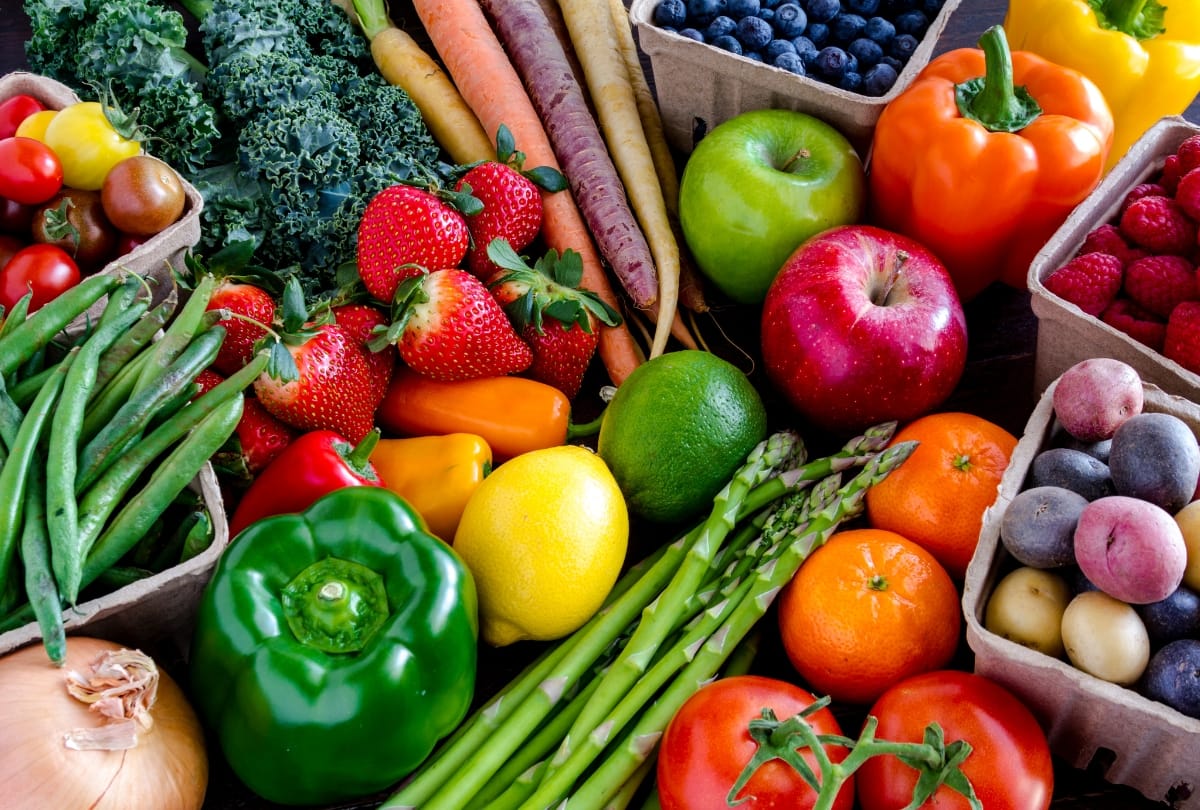
The ingredients
As I mentioned before, gin always has a juniper berry base. This is therefore the number one ingredient. Examples of ingredients that are also often found in gins include:
- Coriander seed
- Pepper
- Ginger
- Cardamom
- Lemon
- Lime
- Lemongrass
- Thyme
- Rosemary
- Angelica
- Laurel
- Cinnamon
- Nutmeg
Of course, you can also choose to add another ingredient. The sous vide technique is ideal for this, as it makes infusing flavors very easy. I chose a lavender infusion. Remember, this is my gin. Feel free to choose a different ingredient and create the gin that suits you best!
The list of ingredients for my homemade gin:
- 1 liter of vodka
- 30 g juniper berries
- 1 tbsp coriander seeds
- 1 tsp. white peppercorns
- 2.5 cm ginger
- 1 stalk of lemongrass
- 5 cardamom pods
- 2 sprigs of thyme
- 1/3 lemon peel
- 10 sprigs of lavender
Note: The quality of the vodka affects the final result. So don't buy the cheapest (store brand) vodka you can find in the store. I chose Smirnoff vodka. I can tell you that the final result was exceptionally good.

The technique: Making your own gin
Making your own gin is very easy. It's mostly just waiting…
Take a pan or sous vide container and fill it with warm water. Then set your sous vide appliance to 60°C (140°F) and let the water come to temperature.
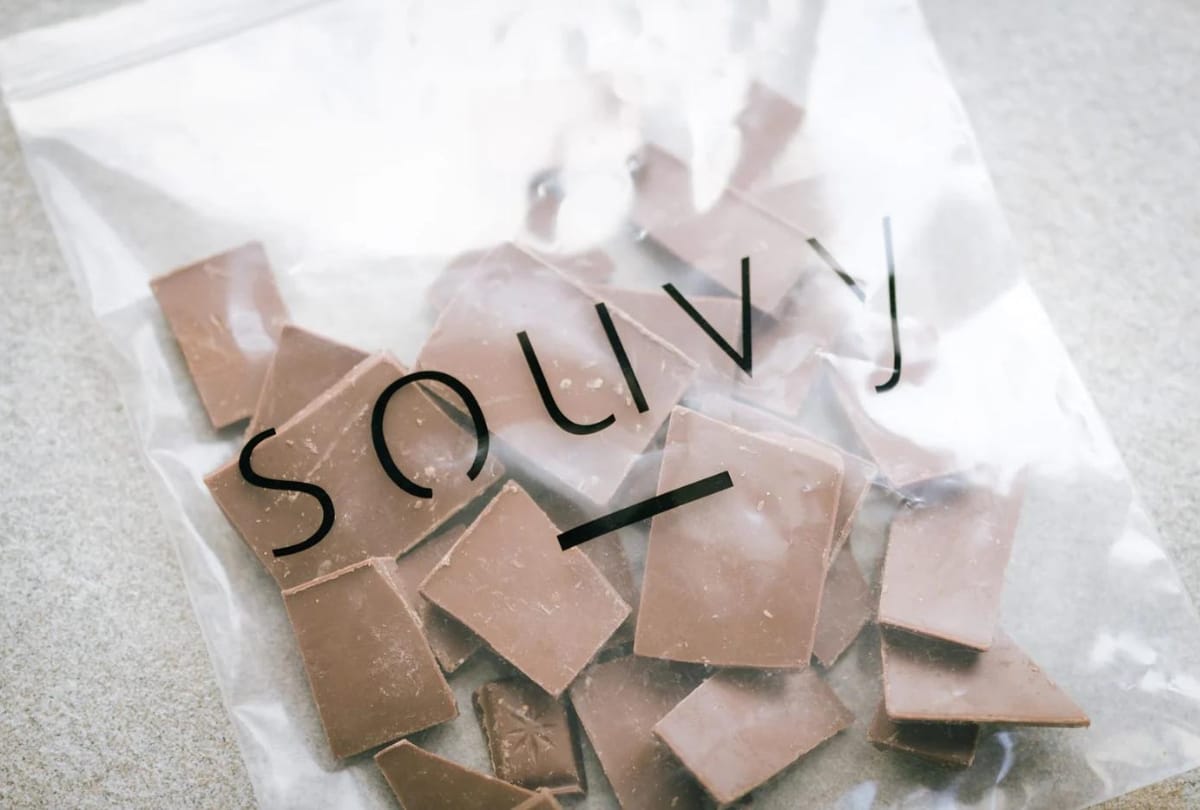
You take all the ingredients and put them in a cut bag from the vacuum bag on a roll!
Empty the bottle of vodka into the bag.
Seal the sous vide bag with a vacuum sealer . Don't have a vacuum sealer? Below are two methods you can use.
[product=sous-vide-kickstart-package]
Discover the sous vide kickstart package!
[/product]
The table edge method
I recommend this method if you want to vacuum seal a bag of liquid without using a vacuum sealer. Close the filled sous vide bag about halfway. Then hold the bag against the edge of a table (or countertop) with the liquid facing down. Keep the top of the seal on the table. Then use the table edge to push the liquid down and squeeze the air out of the top of the bag before closing it.
The water displacement method
You can use this method with almost any product. Seal the filled sous vide bag about halfway. Place the bag in a container of water (for example, your sous vide container ), keeping only the seal above the water. Everything below the seal should be covered by water. The pressure of the water will push the air out of the bag. Once all the air is out, seal the bag.
- Lower the sous vide bag containing the ingredients into the water and set the timer for 1 hour.
- Once the hour is up, remove the sous vide bag from the water and chill the contents in a bowl of ice water for about 30 minutes. You can also place it in the freezer for an hour or in the refrigerator for two hours.
- Pour the liquid from the bag through a fine-mesh sieve into a bottle or jar. You can discard all the ingredients; we don't need them anymore.
Tip: Your homemade gin—like all spirit infusions—will keep indefinitely at room temperature. However, you'll notice that some sediment will settle at the bottom of your jar or bottle after a while. You can filter this out with a coffee filter, if necessary.

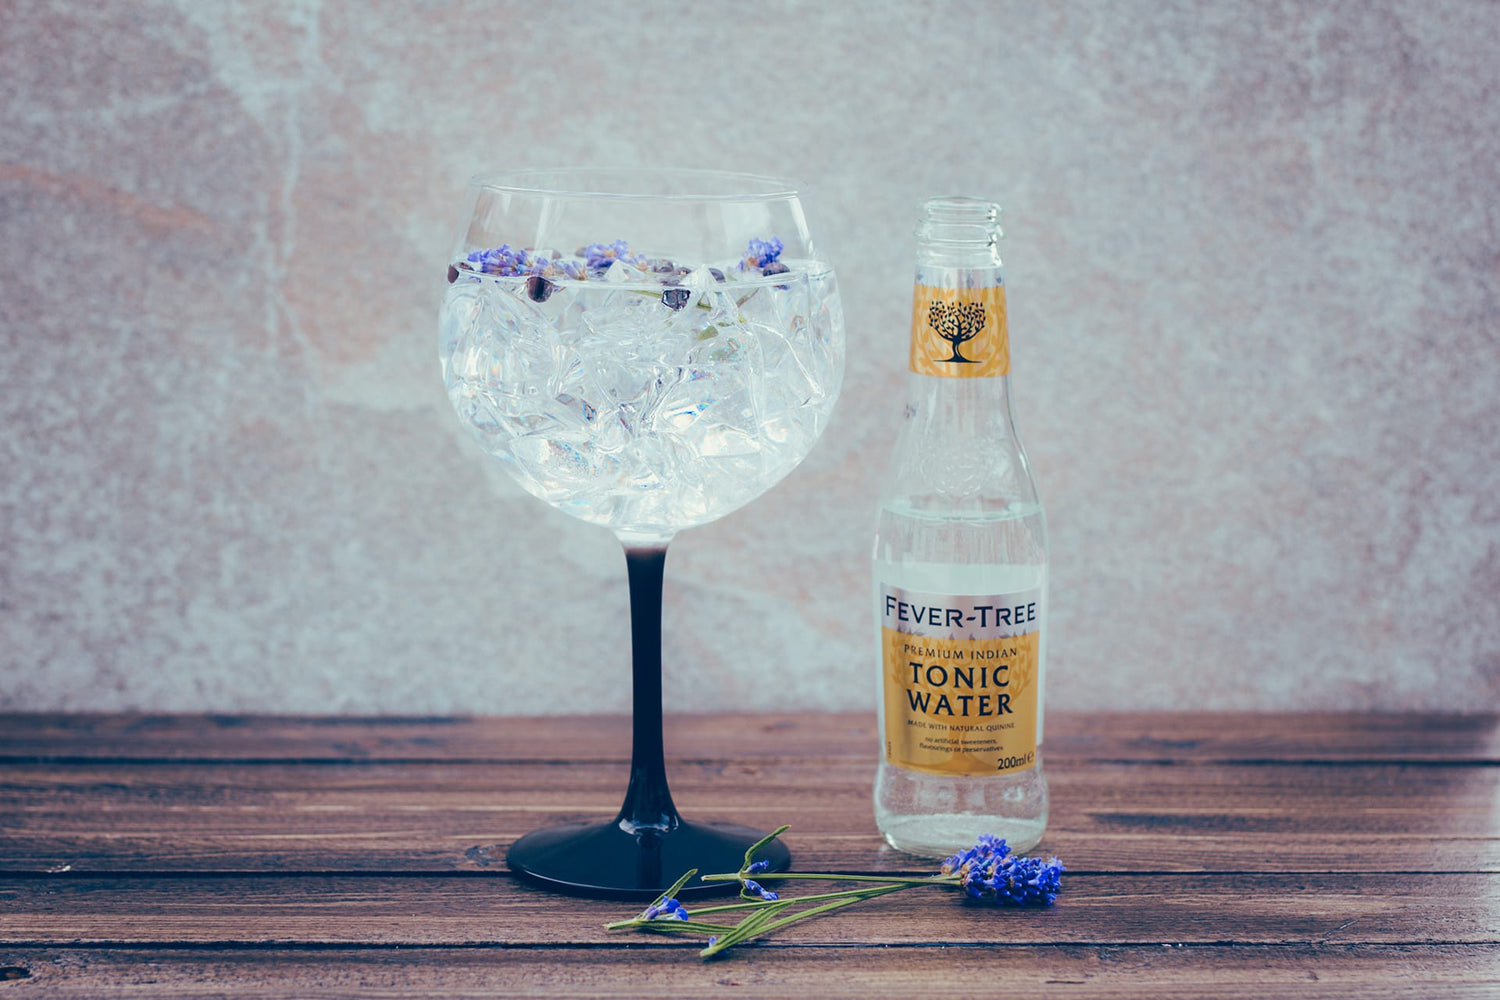
Serving the best Gin & Tonic
Gin and tonics come in all shapes and sizes. There are countless different gins and countless tonics. You can also choose to enhance your flavor by adding botanicals to your gin and tonic. A classic gin and tonic is often served in a large balloon glass, as this allows the aromas to linger. However, feel free to choose a different glass.
The Tonic
First up: the tonic. They come in many different shapes and sizes: Indian tonic, elderflower tonic, Mediterranean tonic, light tonic, and so on. If you like a bit of bitterness, go for the "regular" Indian tonic. Not so keen on sweet drinks? Then choose the light version.
Tip: The advantage of light tonics is that they contain less sugar. This makes the tonic less pronounced, and you can taste the gin better. I prefer the regular Fever Tree tonic, but I also often drink Royal Club Tonic (the light version) at home. They sell them in 1-liter bottles at the supermarket and are much less expensive than the Fever Tree bottles. However, if you want to impress your friends, well... what you pay is what you get.
The botanicals
This is where you can be creative. You choose which flavors you want to emphasize. You can essentially add anything. The choice is yours! Keep in mind that the more botanicals you add, the faster they'll overpower the gin. For this reason, some cocktail bars prefer to serve gin and tonics without botanicals.
Tip: Don't add more than two different botanicals. The goal isn't to overpower the gin's flavors, but rather to enhance certain flavors and aromas.
I chose to enhance the lavender in my gin by placing a few small sprigs in the glass. I also added some juniper berries. It looks lovely, too!

Serve
There are a few points you should definitely pay attention to for a perfect Gin & Tonic:
Ratio
The ideal ratio for making a gin and tonic is, of course, a personal preference. Some people like their G&T with a ratio of 2 measures of tonic to 1 measure of gin. Others prefer 3 to 1, or even 1 to 1. Do what you prefer. I usually go for 3 to 1.
Note: A bottle of tonic often contains 200ml of tonic water. So, if you pour the entire bottle into a glass and add one measure of gin (40ml), you'll end up with a 5-to-1 ratio. This is a waste! It will destroy all the finesse of your gin.
Lots of ice
This is a standard for the perfect gin and tonic. The more ice you add, the slower it will melt. This prevents an excess of meltwater in your drink.
Pre-cool glass and remove melt water
Fill your glass with plenty of ice and swirl or swirl it around the inside to chill the glass. Then pour off the ice just before adding the other ingredients.
Add your tonic slowly
This will keep your perfect gin and tonic sparkling for longer! You can prevent the tonic from going cold by tilting your glass slightly while pouring.
No straw! And here's why:
- When you drink through a straw, you skip the tip of your tongue. This means you miss out on many taste sensations.
- The botanical aromas aren't picked up by your nose when you drink through a straw. If you serve without a straw, you naturally bring your nose closer to the glass.
- A straw encourages you to stir. We don't want that, because stirring makes the tonic fizz more. This removes the carbonation from your tonic. Stir the Gin & Tonic only once after adding the gin to mix it thoroughly, and then don't stir again.
One last tip: Are you a true gin & tonic enthusiast? Then download the Ginto app from the App Store. This app contains a wealth of information on almost every gin available. The ingredients are often listed, which can help you choose a botanical. You can also keep track of the gins you've tasted and add notes. Very handy!
That's it. I hope this article has inspired you enough to get started. Cheers!

7 comments
yu-givan@hotmail.com
Ja Edwig dat kan!
edwig.kint@telenet.be
Kan ik dit ook in wegkopt maken sous vide ?
givan@tabletstudent.nl
Hi Dennis,
De eerste opsomming is een lijst met mogelijke ingrediënten die je kunt gebruiken. De tweede lijst is de lijst zoals Tim hem heeft gemaakt.
De 30 gram jeneverbessen staat niet perse gelijk aan de hoeveelheid van een vervangbaar ingredient. Uiteraard heeft de hoeveelheid van de ingrediënten invloed op de smaak, dus voel vooral zelf aan wat je wilt gebruiken en de hoeveelheid hiervan!
schoors.dennis@gmail.com
Hey Tim,
De opsomming in je ingrediëntenlijst, betreft dat alle ingrediënten om jouw gin te maken of is het een of/of keuze die ik moet maken, met als basis telkens de 30gr aan jeneverbessen….?
leendejo@gmail.com
Sorry inderdaad niet goed gelezen. Vandaag gemaakt ben benieuwd naar het resultaat. Bedankt voor je reactie..
Groet Leen
Leave a comment
This site is protected by hCaptcha and the hCaptcha Privacy Policy and Terms of Service apply.